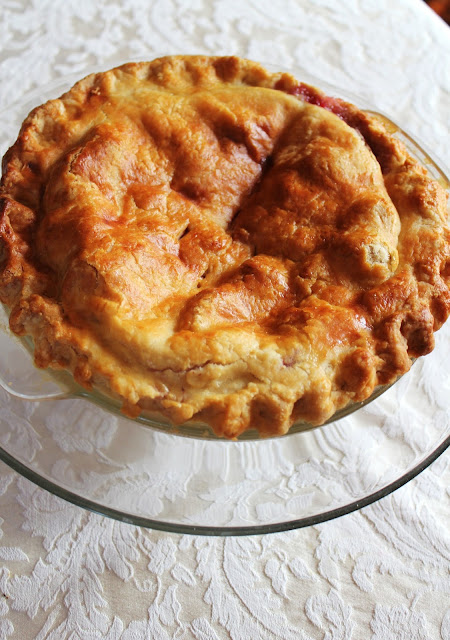
I used to have anxiety about making pie crust. Most likely because I had know idea what I was really doing, yet wanted big perfect results.
I learn best when someone shows me HOW TO and I do it with my own hands. My own fears were conquered after taking a pie baking class in Iowa at the American Gothic house with my sister-in-law, Lindsay.
So I would love to share with you
I learn best when someone shows me HOW TO and I do it with my own hands. My own fears were conquered after taking a pie baking class in Iowa at the American Gothic house with my sister-in-law, Lindsay.
So I would love to share with you
Phase II
Perfect Pie Crust: 10 Steps
After the dough has chilled. Take one ball to start your pie crusts. Preheat your oven to 425 degrees, making sure racks are on the bottom.
Step 2 Flour Everything

Step 3 Dough Discs

Step 4. Forming The Circle
Place the dough disc onto the floured surface and with your rolling pin roll north and south, and east and west, like a cross. Keep rolling outward around the circle to form a larger circle that is about 2 inches wider than your pie plate. I usually place the glass pie plate on top of the dough to judge.

Side note: When I first made pie crusts, I didn't flour enough nor did I roll my dough out thin enough. My dough barely hit the top edge of the pie plate once I tried putting it in. Notice how thin the dough is rolled out in this picture. These pictures our from my Iowa Pie Class Adventure with the famous pie lady, Beth Howard.
Step 5. Pick Up
My mom always taught me to fold the dough in half and then in half again. Pick up the folded crust and place in pie plate and gently unfold. The dough should hang over the pie plate. Gently press down around the bottom so that the crust is fully lining the whole plate.
Or you could pick up this way...
Step 6: Repeat
Repeat Steps 3-5 to make the top crust, making about 3 slits in the center of the pie crust for ventilation. Fill pie with fruit filling and place top crust over the filled pie.
Step 7: Tuck In
Gently tuck the top crust OVER and UNDER the bottom layer of crust. (The dough will be thickest at this outer rim.) Pinch around to seal. (I take my right thumb to the edge of the dough and pinch with my left fore finger and thumb the dough around my right thumb.) Follow around the whole pie.
Step 8: Egg Wash
Brush pie with Egg Wash (whisk 1 egg with 2 Tbs. Milk) to make the crust shine.
Step 9: Foil
Take large strips of foil, almost covering the whole pie, and peel back so that the edges are covered, but the the top of the pie exposed, removing the foil edges during last 15 minutes of baking)
Step 10 Baking the Pie
Place pie in oven on a bottom rack. Bake pie for 60 minutes, or until crust is golden brown and juice begins to bubble through the slits in the crust. Let pie cool completely, about 2 hours, before serving.
Side notes:
- I usually turn my oven down to about 400 degrees about half way in or once the color is golden and bake an additional 10 minutes to ensure the dough isn't too doughy.
- Usually, I don't make my pie crust and pie on the same day. That's always a recipe for disaster for me, too much pressure. I usually freeze my dough and when the opportunity arises for a pie, the dough is already done so the pie making is less daunting and more enjoyable.
- The more I practice, and the more pies I make, the more comfortable and easy this process becomes. So don't get discouraged!
Strawberry Rhubarb Pie
The world needs more pie :) Happy Baking!
The world needs more pie :) Happy Baking!


3 comments:
This is amazing!! Thank you so much. I'm the world's worst pie crust maker :) Yours are beautiful.
Oh yay, hope it can help :) I felt the same way and sometimes still do, but I enjoy the learning process. Good luck!
I am SO looking forward to heading back to Cincinnati and continuing the journey of mastering the pie crust! :) Love this step-by-step instructions and encouragement. You are such a phenomenal woman!
Post a Comment